Thursday, November 17, 2011

"I'm Thankful For"... Place Mats


I love these "I'm Thankful For..." place mats created by June Pfaff Daley.  She created them to help her kids understand the meaning behind the Thanksgiving holiday... and so that they would have a fun activity to do while the meal was being prepared.

How cute would it be to bring these to your family's Thanksgiving meal, along with a mason jar full of crayons for the kids?

To print place mats, click here. If you want to use these for more than one Thanksgiving, have them laminated at an office or teacher's supply store.  You could use dry erase markers or dry erase crayons... the colors (and any mess) will wipe right off a laminated version.

Wednesday, November 16, 2011

Homemade Peppermint Patties


Oops! Don't forget the butter and heavy cream!
I wasn't always a chocolate and mint fan.  I'm not sure why but it just never appealed to me.  Once I tried Thin Mints (a Girl Scout cookie, for those of you who live under a rock!), I began my upward spiral towards choco-mint heaven.  Peppermint patties are now one of my favorite candies and, if I have the time, this homemade version is far better than the ones from the store.  I came across this recipe on the internet a couple of years back and have searched around but can't find the source.  There are other recipes out there but none like this. Really creamy, perfectly minty, and the chocolate shell is as good as you invest.

Turkey Pancakes


We made these turkey pancakes yesterday morning, and the boy talked about them all day!  They only take a tiny bit more effort and ingredients than regular old pancakes.  

Ingredients:
  • Your favorite pancake mix, prepared (I used 1 1/2 cups of Bruce's Sweet Potato Pancake mix, "the breakfast vegetable!" which yielded 2 turkey pancakes.)
  • A few drops of red and yellow food coloring (optional)
  • Sliced strawberries
  • Raisins 
Step 1: Prepare pancake mix and add food coloring (optional.) I separated the prepared pancake mix into 3 bowls, and added yellow food coloring to one bowl and yellow+red food coloring to another bowl.  The tail feathers of the turkey are the yellow and orange colored mix... but you can't really tell once they are cooked!  Maybe it's because the sweet potato mix already has a darker color to it.  If you want to save some time, don't worry about the food coloring! 
Step 2: Add the pancake mix to plastic 'piping' bags (I used Ziploc.) Squish the mix over to one side, and cut a small hole in one corner.  If you have plastic squeeze bottle, that would work too. But, honestly, it's really nice to just throw away the bag when you are done with it!
Step 3: "Draw" the turkey parts on the griddle.  Sorry, this picture is kind of unappetizing. Some of the 'turkey parts' actually look like turkey parts. 
Step 4: Assemble the turkey on the plate with strawberries, raisins, or other fruit you have on hand (bananas would be cute too!) WP loved this. He even ate the strawberries and raisins first!
For more, and cooler, pancake ideas, check out Jim's Pancakes. 

~ Lauren

Tell a Better Story

"A story is a character who wants something and overcomes conflict to get it." Donald Miller

Do you ever tell your kids stories?  Good, old-fashioned, spoken, made-up stories?  I tried to do this for the first time the other day, and I really struggled to tell a good story.  Actually, I struggled to tell "a" story... much less a good one. This was my story: The protagonist (who shared a name with my child - it was all I could come up with) went to the park, saw his friend, played some, and them came home. It was more a re-cap of our afternoon than a story, and it really bothered me that I couldn't come up with anything better.

Then, I read Don Miller's book "A Million Miles in a Thousand Years."  Don sheds a lot of light on telling a good story, but his thesis is this: "A story is a character who wants something and overcomes conflict to get it."  The more we can identify with the main character, the more noble his or her ambition, the fiercer the conflict, and the more triumphant the overcoming... the more epic the story. This resonated with me so much. I immediately thought of two of my favorite stories, The Lord of the Rings and The Shawshank Redemption, and realized that they both contain all elements of a great story.

The formula is simple: Story = character + desire + conflict + overcoming. So, I started thinking:
  1. I can use this simple formula to tell better stories to my son. 
  2. I can use this simple formula to tell a better story with my life, and to help my son tell a better story with his. 
What kind of story are you telling? What kind of character are you? What is the thing you want? What conflict is keeping you from getting it? And what can you do to overcome that conflict?

Think about it... then go tell a great story!

Tuesday, November 15, 2011

Cinnamon apples

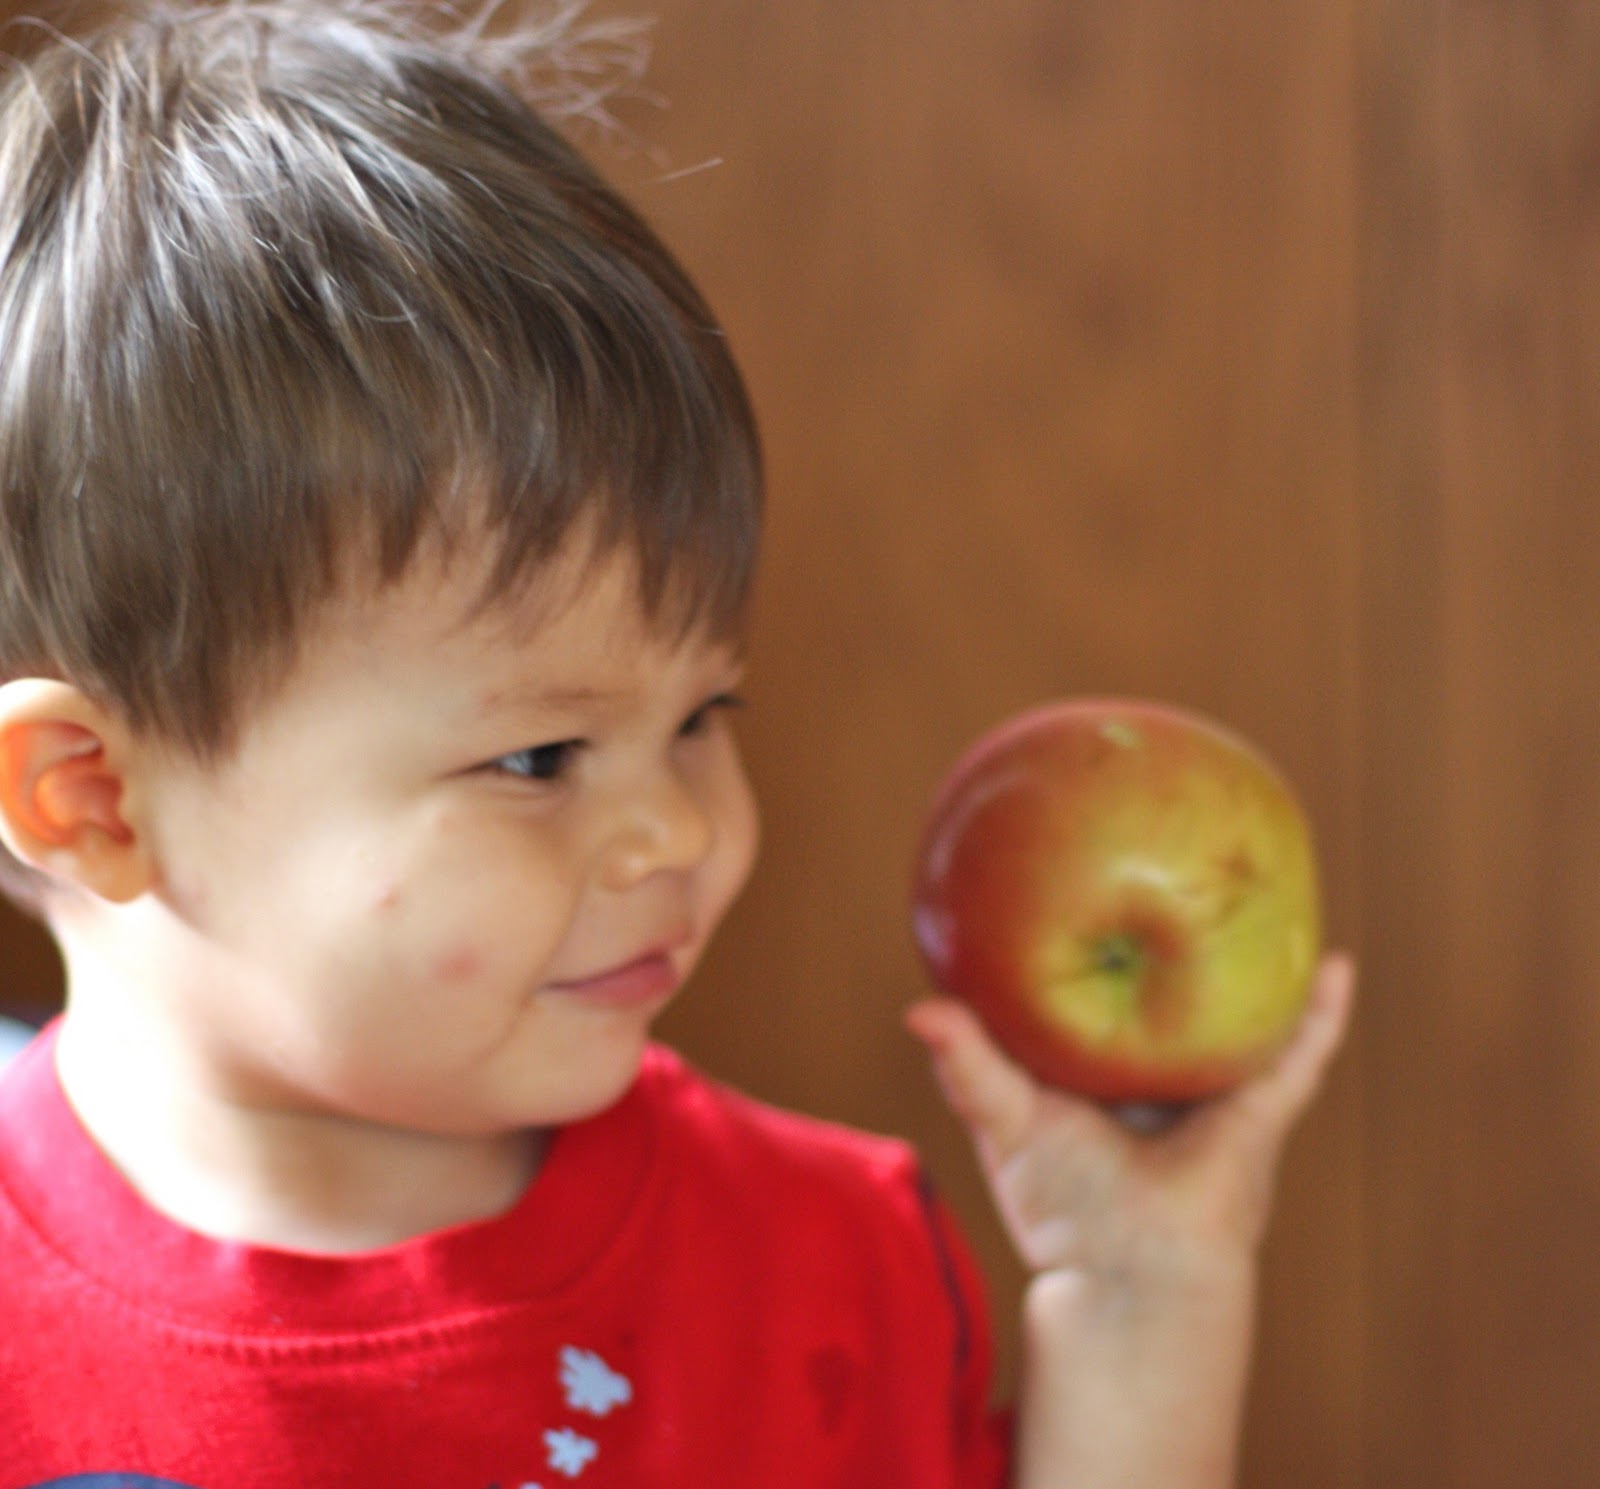
Apples are in season and I can't walk by them in the grocery store without taking a big whiff and studying all the varieties. Which ones will we be eating this week? These are Fuji. They arent too hard so my little one can enjoy them and they taste amazing. To make them even more special, I sprinkle a little cinnamon on slices for my boys' lunches. Simple, delicious, healthy!

Check out this great chart for knowing what to do with different varieties of apples! Apple Chart

Monday, November 14, 2011

Pizza Fun


I have never made my own pizza dough before.  Everyone tells me how easy it is but for some reason, I have baker's block when it comes to yeast.  I've used it in my bread machine and have bought envelopes of it to make different things with but have never actually mixed it up, patiently let it rise, then baked it.  I think the whole 'add to 113.14159265 degree water' intimidates me a bit.  I'm pretty sure I'm capable SO, as an ice-breaker, I bought some frozen pizza dough.

What?

It counts.

Kinda.

Ok.  Maybe not.

Either way, I patiently let the dough thaw.  Then got creative with my toddlers.
I split the dough in half and stretched one half out into a traditional pie.  I had half of a jar of spaghetti sauce (a go-to in our house for tot dinners) and a bag of shredded mozzarella that I bought after I slaved in the freezer aisle looking for pizza dough.  I put some sauce on the pie and let KD spread it out. He gladly took handfuls of cheese and put them into his mouth, while I made sure there was some for the pizza.  I brushed the exposed crust with an olive oil and garlic powder slurry and baked at 450 degrees for 14 minutes.  I was surprised with how pretty it was!

Saturday, November 12, 2011

Ice Cube Bags


This is an easy activity to prep and both my 1 and 3 year olds enjoyed it!  My 3-year old definitely got the colors mixing even though they weren't exactly Crayola colors.  It may be difficult, though, to convince a two-year old that the water is now 'purple'. 

Friday, November 11, 2011

Greek Pasta Salad

The first time I made a greek salad, I used a recipe from Nigella Lawson's Forever Summer.  I still follow the process but it has evolved into a pasta salad (a friend had brought me something similar after I had KC). Making this is almost as wonderful as eating it. The smell, the colors, and the texture are complete therapy! You can eat the pasta salad for lunch, as a side dish, or on top of some romaine lettuce. It's great for a quick snack or meal and both of my boys like the pasta.  I know that once you try this recipe, it will be printed, laminated, then passed on for the rest of eternity!

Thursday, November 10, 2011

Red Beans & Rice: My Go-To Meal


This is one of our very favorite meals! I often make it when we have company because adults love it, and it can easily be adapted so that the kids will eat it too.  Plus, as a hostess, it’s so nice to be able to leave the pot of beans simmering on the stove, virtually unattended, and enjoy guests. And an added bonus: the beans freeze well.  
I recently served this dish to some friends and their kids. I was so impressed when I overheard one mom pointing out the turkey sausage in the dish to her 3 year old daughter by saying, “Look, mini hot dogs!”  And... her daughter loved it! WP likes this dish as well - most days anyway.  
Red Beans & Rice
1 lb dried light kidney beans
2 quarts water
1 yellow onion, chopped
2 stalks celery, with leaves, chopped
2 1/2 t salt
1 1/2 rounded T thyme
1 1/2 rounded T oregano
1 1/2 t garlic powder
3/4 t cayenne
2 bay leaves
1 lb smoked turkey sausage, sliced into 1/2 inch slices (I prefer Hillshire Farms)
Green Onions
Cheddar Cheese
Greek yogurt or sour cream
Rice, prepared
Green sauce, such as Tobasco or Emeri’s Kick It UP Green Pepper Sauce

Soak beans overnight. Drain beans. (To speed up the process, you can bring them to a boil, simmer 2 minutes, remove from heat and let stand 1 hour before the next step. If you use this method, do not drain the soaking water.  Simply add enough water to equal 2 quarts in the pot.)
Add 2 quarts cold water, bring to boil with onions and celery. (Note: I don’t use celery very often, so when I buy if for this recipe, I usually chop the whole bunch and freeze it in bags of 2 stalks. That way, I have some on hand for future recipes.)  Cover, reduce heat and simmer 1 1/2 hours until beans are soft and begin to thicken. Do not stir too often. I usually stir only a few times in the hour and a half. 
Stir in seasonings (which can be mixed ahead of time and stored in a plastic container) and sausage slices. Simmer 30 minutes more. 
My husband and I serve ours over hot rice topped with cheddar cheese, green onions, and green Tobasco. A nice adaptation for kids is to mush the beans with a fork, cut the sausage into tiny pieces, and mix them together with the rice, cheese, and a tablespoon of greek yogurt or sour cream (this cools off some of the heat). 


Tuesday, November 8, 2011

Craft Swap


One of my friends recently had a great idea: a craft swap! Many great mommy bloggers out there have posted about Busy Bags and Busy Bag Swaps, which are a similar idea to our craft swap. Here is how ours worked:
  • 4 moms participated. We all have kids around age 2 (give or take several months). 
  • Via email, each mom submitted several age-appropriate crafts she would like to make/do with her kids, and we compiled a master list of crafts.
  • Each mom picked 5 crafts off of the master list and committed to making 4 sets of each craft.  
  • We gave ourselves about 2 weeks to make the crafts. (We live in different cities, but we already had a get-together planned when we could swap. This saved shipping costs.)
  • As a general rule, each activity fit in a freezer-sized Ziploc bag and was inexpensive or even free to make.  
  • We got together and gave each other the crafts we had made.  At the end, each of us had 20 new crafts/activities to do with our kids.
I have LOVED having these crafts on hand.  I usually pull one out in the morning after breakfast. Most mornings, I'm very hazy and slow-thinking until my coffee kicks in (and sometimes even after it kicks in.)  It's been wonderful for me to be able to reach for one of these bags and have an activity ready to go - no prep work required!  Plus, starting our day with some structured fun/learning is really nice. After we do the activity, I put it back in the bag and store it away.  This helps the activities stay fresh! 

As we play with the different activities, I will share some of our favorites.

~ Lauren
I store our craft bags in here...
... so they are out of sight.

Friday, November 4, 2011

Turning 'Yuck' into 'Yum' for Picky Eaters


Studies show that 30-50% of parents of preschool age children say they have picky eaters.  I guess that every-parent-I-know is a poor sample size, because I would've guessed the percentages to be even higher, say, 100%!  Either way,  this is a wonderful podcast on picky eaters, featuring Kayla Boyse, R.N. from the University of Michigan.  It is free on iTunesU, and certainly worth the time to download and listen to. 

Here are the highlights: 

  • Pickiness often starts along with walking and may be a human defense mechanism (so that your one year old doesn't eat the poisonous berries.)  The good news: pickiness often fades around age 4 or 5 or 6. 
  • The principle of repeated exposure says that the more times you are exposed to something, the more you start to like it. Most kids must taste (not just see) a food about 10 times before they start to like it.  Unfortunately, parents usually give up after 3 or 4 times. 
  • When it comes to modeling good eating habits, other kids (or even admired cartoon characters) are more effective than Mom & Dad.
  • The more you use food as a reward (e.g.: if you eat your dinner, you can have ice cream), the more kids learn to like it.   
The bottom line: Parents are responsible for WHAT goes on the plate, and the child is responsible for HOW MUCH gets eaten. Good to remember!

Yummy Chicken Balls


What kind of foods are toddlers drawn to? Something they can feed themselves? the right texture? sweet? salty? Whatever YOU are eating??! Every child has different preferences and temperaments- who are we kidding, each child has a little Jekyll and Hyde in them! Your sweet child's favorite today may be tantrum-worthy tomorrow.

Why I like this recipe:
  • It's loaded with produce and protein, which can be the hardest to get my boys to eat
  • It's relatively lean and low in salt
  • It's sweet and savory
  • It freezes well so if it's not a hit you can try it again next week
  • It's not messy- my 15-month old easily can throw them directly into my dog's mouth:)
  • Mommy and daddy will happily eat it too
With so many positives, it is definitely worth a try.
I hope you enjoy them as much as most of us did!

Mumpkins


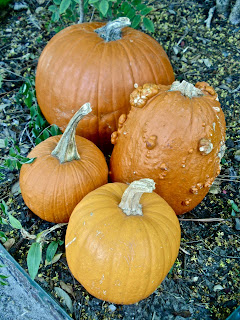
Save your pumpkins, buy some mums, enlist your kids, and make Mumpkins!

After seeing these Mumpkins here, I wanted to make them to see if they really did turn out so cute. And... they did! I think they would make the perfect Thanksgiving center piece. Even if you aren't hosting this year, wouldn't this make a lovely hostess gift for whoever is?

My 2 year old had fun poking the mums into the pumpkin. Once he got tired of doing that, he had fun pulling petals from the mums. I think we will make these again the week of Thanksgiving so that he can take one to Granny and show off his craft (and his mom's craftiness)!


Here's a quick photo-tutorial:
Step 1: Pick your pumpkins. I recommend using a small-ish pumpkin. It will be faster to cover and I think it looks cutest too! A long stem is also nice - you can hold onto it while pushing in the flowers. Pumpkins are on sale right now - if you don't have some left over from Halloween, you can get them for under $1 at many grocery stores!


Step 2: Pick your mums - you will have so many great colors to choose from! I tried both small and large blooms, and each had its own "pros". Large blooms = more pumpkin coverage for less money. Who doesn't like that? It only took one bunch (about 40-50 large blooms) of the yellow mums to cover my small pumpkin. It took almost 4 bunches (over 200 small blooms) of the purple mums to cover my large pumpkin. But... the small blooms held up better than the larger blooms, which began to wither in about a day.
Step3: Prep the pumpkin and the mums. Poke a few holes in your pumpkin with an ice pick, more or less an inch apart, depending on the mum size. Cut the mums off leaving about 1 inch of stem.

Step 4: Hide the ice pick. Enlist your kiddo and start pushing the mums into the pumpkin.


The Mumpkins should stay fresh for 3-4 days.


Thursday, November 3, 2011

Peanut Butter Caramel Apple Bites

Peanut Butter Caramel Apple Bites

Making these Peanut Butter Caramel Apple Bites is a fun activity for little hands. They are a snack and activity in one; and since they take a some time to make, little mouths will be eager with anticipation to eat them! We often make a healthy, simple version using only apples and peanut butter for an afternoon snack. But we add caramel and sprinkles for special fall occasions! I love how they resemble mini pancake stacks with syrup on top! See photo tutorial below.

Step 1: Wash and slice the apple(s), preferably with a mandolin (grown ups only!)
Apple sliced at 1/8" thick.
I recommend slicing apples anywhere from 1/8" - 3/8".

Step 2: Cut the apple slices into tiny, bite-sized shapes
using cookie cutters or tin cutter. Kids will love to help with this!

Step 3: Fill the pieces with peanut butter and assemble with toothpicks (optional).
For a healthy snack, stop here!


Step 4: Top with caramel sauce and sprinkles (optional). I used the recipe below for home-made caramel sauce, then poured the sauce into a candy-making 'Make 'N Mold' bottle (from Hobby Lobby) to decorate with.

For the caramel sauce: Melt 1 stick butter in a small heavy-bottomed pan. Stir in 1 cup light brown sugar and 1/2 cup heavy cream. Cook over very low heat, stirring constantly, until all is melted and blended. Whisking helps bring it together.

Money Saving Tip: My 'cookie cutters' are actually tin cutters found at Hobby Lobby. Look for them in the woodwork/craft aisle - not the baking aisle. A set of 3 different sized circle cutters was less than $2. Hand wash them, or they will rust.

Wednesday, November 2, 2011

Reasons to Tell Your Child 'I Love You' from Becoming Minimalist


The words 'I love you'- it feels good to say and even better to hear. My grandmother rarely said 'I love you'. It almost sounded strange and uncomfortable coming out of her mouth. I can't imagine how my mom grew up not hearing it multiple times a day. As a result, my mom made sure that we always knew how loved we were and was much more forgiving than maybe she should have been. I'm thankful for the affection and hope to pass the same on to my kids!
I love this post from Becoming Minimalist where he lists 15 reasons to say 'I LOVE YOU' to your child. Here are a few of my favorites: