

Save your pumpkins, buy some mums, enlist your kids, and make Mumpkins!
After seeing these Mumpkins here, I wanted to make them to see if they really did turn out so cute. And... they did! I think they would make the perfect Thanksgiving center piece. Even if you aren't hosting this year, wouldn't this make a lovely hostess gift for whoever is?
My 2 year old had fun poking the mums into the pumpkin. Once he got tired of doing that, he had fun pulling petals from the mums. I think we will make these again the week of Thanksgiving so that he can take one to Granny and show off his craft (and his mom's craftiness)!
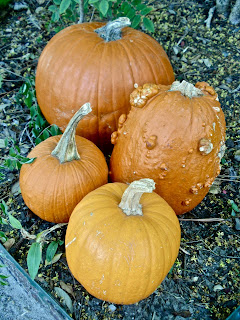
Step 1: Pick your pumpkins. I recommend using a small-ish pumpkin. It will be faster to cover and I think it looks cutest too! A long stem is also nice - you can hold onto it while pushing in the flowers. Pumpkins are on sale right now - if you don't have some left over from Halloween, you can get them for under $1 at many grocery stores!
 Step 2: Pick your mums - you will have so many great colors to choose from! I tried both small and large blooms, and each had its own "pros". Large blooms = more pumpkin coverage for less money. Who doesn't like that? It only took one bunch (about 40-50 large blooms) of the yellow mums to cover my small pumpkin. It took almost 4 bunches (over 200 small blooms) of the purple mums to cover my large pumpkin. But... the small blooms held up better than the larger blooms, which began to wither in about a day.
Step3: Prep the pumpkin and the mums. Poke a few holes in your pumpkin with an ice pick, more or less an inch apart, depending on the mum size. Cut the mums off leaving about 1 inch of stem.

Step 4: Hide the ice pick. Enlist your kiddo and start pushing the mums into the pumpkin.
The Mumpkins should stay fresh for 3-4 days.


No comments:
Post a Comment